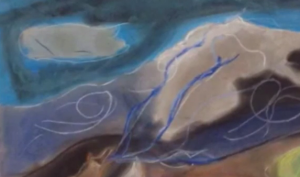
My wife and I are fortunate to live near Washington, DC, especially for the museums and what they offer for educators. Our recent visit to the Phillips Collection connected to my wife’s upcoming series of field trips she is organizing for a student group at her high school to learn more about civil rights. After viewing the Migration Series on African American migration to the north, my wife is adding the Phillips to her list of learning places for the field trips.
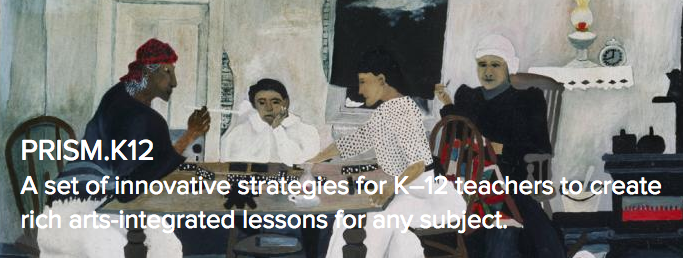
An additional bonus is the Phillips Collection incredible art education resource site that offers strategies for art integration in an interdisciplinary approach to art education. The student-generated art and examples of conceptual understanding are lovely! The PRISM.K12 site contains thinking routines and exemplars of student application of their learning.
It was incredibly informative during our visit to see student work from several schools showing their responses to the instructional strategies. Look to follow the documentation on Twitter with #migrationexperience.
Primary sources and research connect to our Information and Communications Literacies (ICL)approach to inquiry and how students on the Migration Series also engaged their ESPRAT+G during their learning journeys.
_________________________________________________
Art Integration (Lessons Learned)

Art Integration (Lessons Learned)
I have been a fortunate educator able to partner with art teachers on various projects. Here is a Lessons Learned review of some posts on the Innovative Practices blog during my time at Alexandria Country Day School.
- Displaying student art is a beautiful practice. Framing and displaying student art throughout the school takes it to a new level. Art Immersion in the Library
- Guiding students to be designers engaging their art in planning projects especially using storyboards, is vital. Student Designers
- Highlighting and celebrating art by giving the art educator voice helps further the program. Art at ACDS
- Field trips that use art to document learning help students focus on what is around them while supporting the reflection process once they return to school. Bonsai Boy?
- One way to prep students for field trips is to share information with them ahead of time. One can help build understanding by allowing students to make their understanding visible. Modern Artists
- The same making thinking visible approach applies to almost any lesson giving students a transfer task to apply their learning. Transfer Task in the Second Grade
- And, of course, giving students time to sketch what they see when visiting art museums is a must. Art and Technology Field Trip: Grades 2 & 5
- Art, spatial understanding, and math go together. Math, Art, and the Funny Papers
- Art, spatial understanding, and writing. Interdisciplinary Studies in the First Grade
- Math, shapes, space, and photography engage with internal school or city walkabouts. Kindergarten, Math, and Photography | Shapes in the City (Video with student artwork at the end)
- Math and art through tesselations. Tesselation: Math and Art
- Teaching and applying art history. Kindergarten Artists
- Art in tech class, art and architecture, and mashups: End of the Year: Design and Creativity
- Inquiry, art, and music. PYP Unit of Inquiry: Imagination Through Art and Music
- Art challenges and sketchbooks: 30-Day Art Challenge – Creativity Unleashed!
- Speaking of museums, how about challenging students to research topics via a WebQuest and then design a museum exhibit to communicate their learning? ColonialQuest WebQuest (Voicethread)
- Students engage their creative writing and illustration talents to write digital stories. First Grade Storytellers (video)
- Art, Science, Research and Technology. PYP Unit on Weather
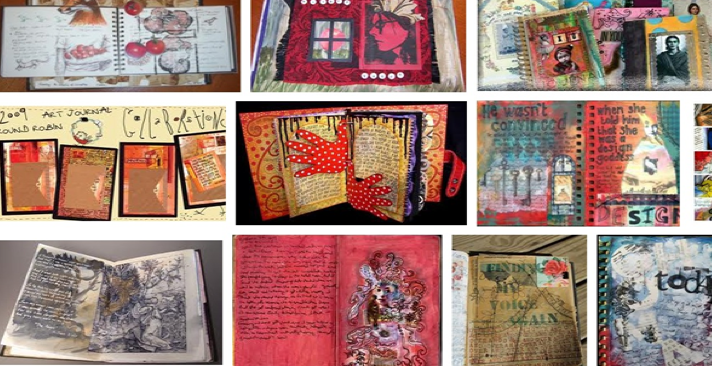
Image Sources: PRISM.K12 | Strategies | Student Art